For many of the past eleven years, I have been making my own arrows. This skill has developed little by little over time, as I read various articles, and listened to what other traditional archers had to say.
Whilst it is a relatively simple craft, it can be monotonous, and laborious. For instance, self nocks. I can file down the rear of an arrow neatly and carefully, fit in the horn or hardwood and create a functional self nock. But it takes almost half an hour per arrow. Placing the fletches on a dozen arrows isn’t a quick process either – I find it’s best to have the previous night’s recorded NFL game on at the same time.
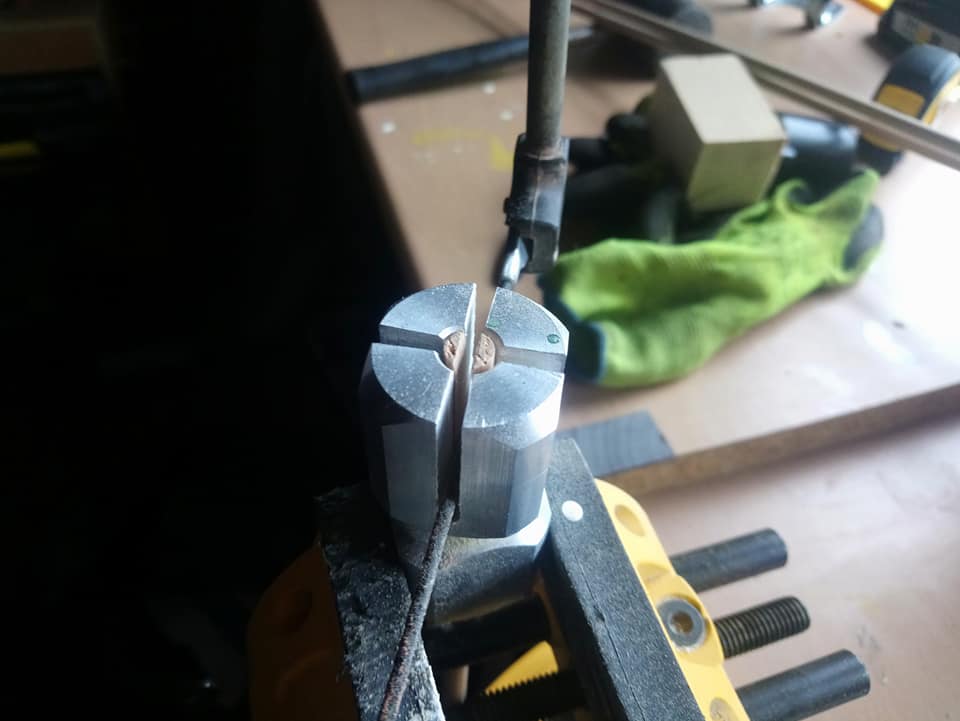
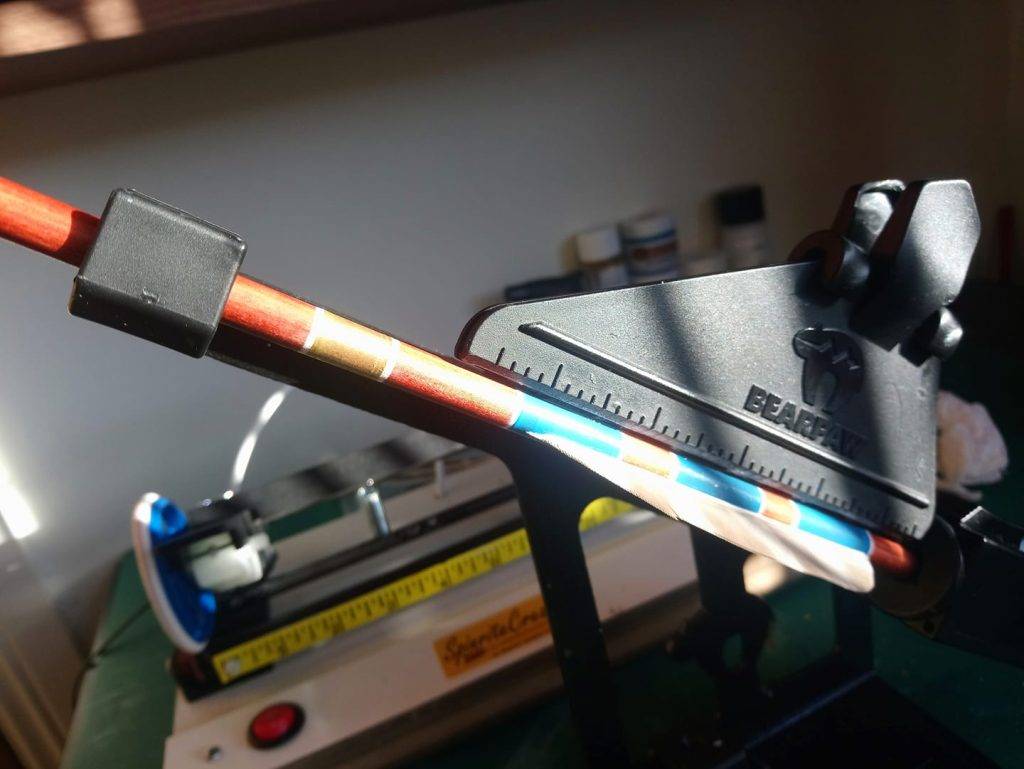
There is always something more to learn when making arrows. It begins with making sure the fletches are aligned with the grain of the wood and learning how to straighten the shafts. And before you know it, you are using found feathers to cut your own flights and filing your own nocks.
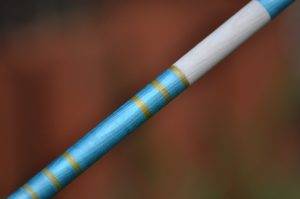
Of the many types of wood, I have worked with spruce, cedar, pine, fir, and bamboo. Each has its own traits, and some are better suited to lower poundage bows than others. Spruce is the lightest, and fir the heaviest, whilst pine is a nightmare to straighten. If you want something stable for indoor competition, shooting 20 yards for example, fir is a good choice.
Then there are the user specifications. Making arrows for myself is grand. I know what spine, length, and flights to use – having spent years experimenting with different arrow spines, fletch sizes and shapes. Figuring out the specifications for others is a bit more challenging, however, I’ve found wooden arrows to be very versatile.


Yet, it was not long into making arrows for myself that I was looking beyond simply adding colourful flights to make them look good. So, here is an article that will hopefully encourage some more wood shooters to not only give making their own arrows ago, but apply more artistry to them. It is another way to have fun in making arrows.
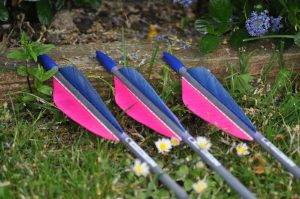
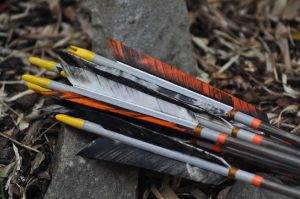
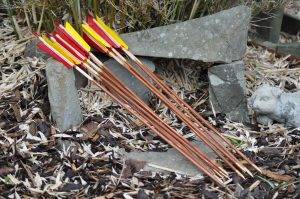
There are many different ways to adorn your arrows, from using the colours of family crests, to colours found in animals, and the natural world. I have used these myself. This goes beyond the choosing flights in the desired colours, by applying wood dyes, cresting paints, and thread – even using fire too.
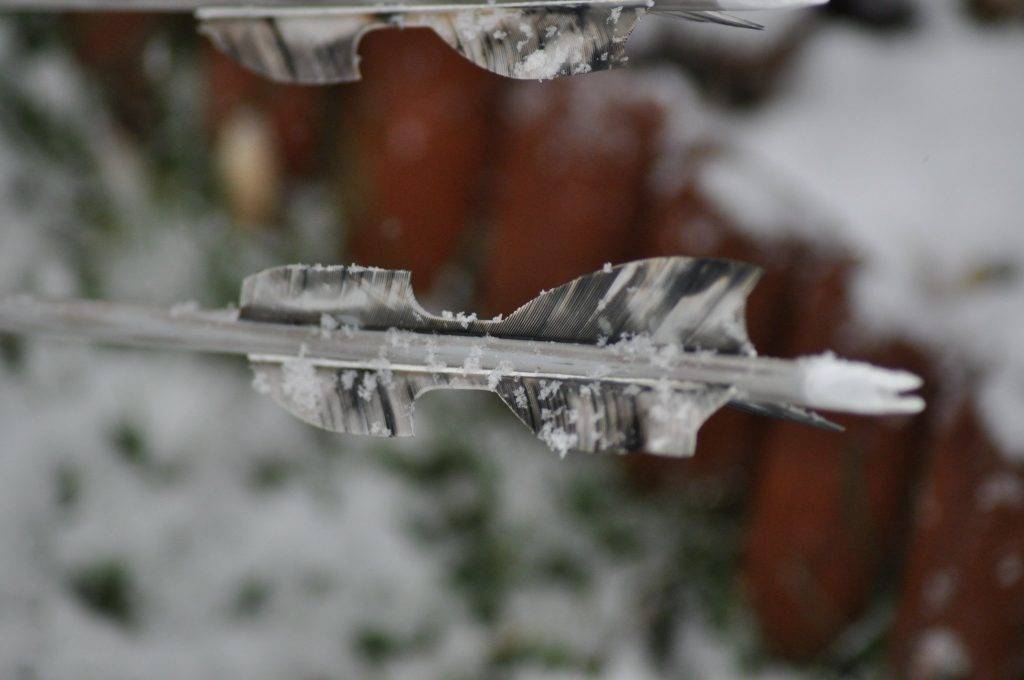
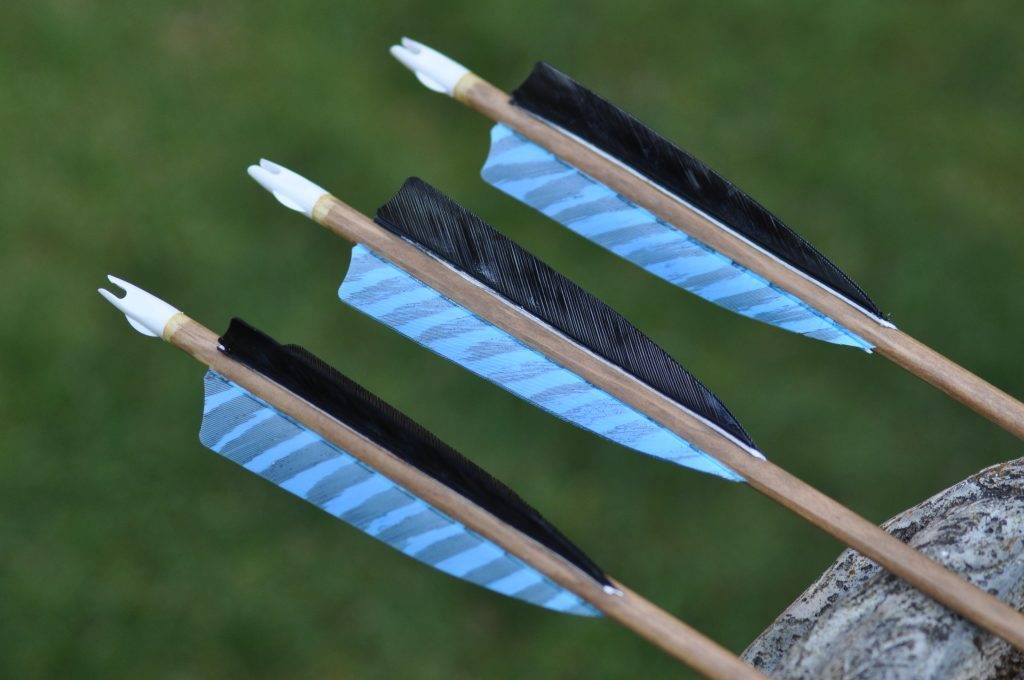
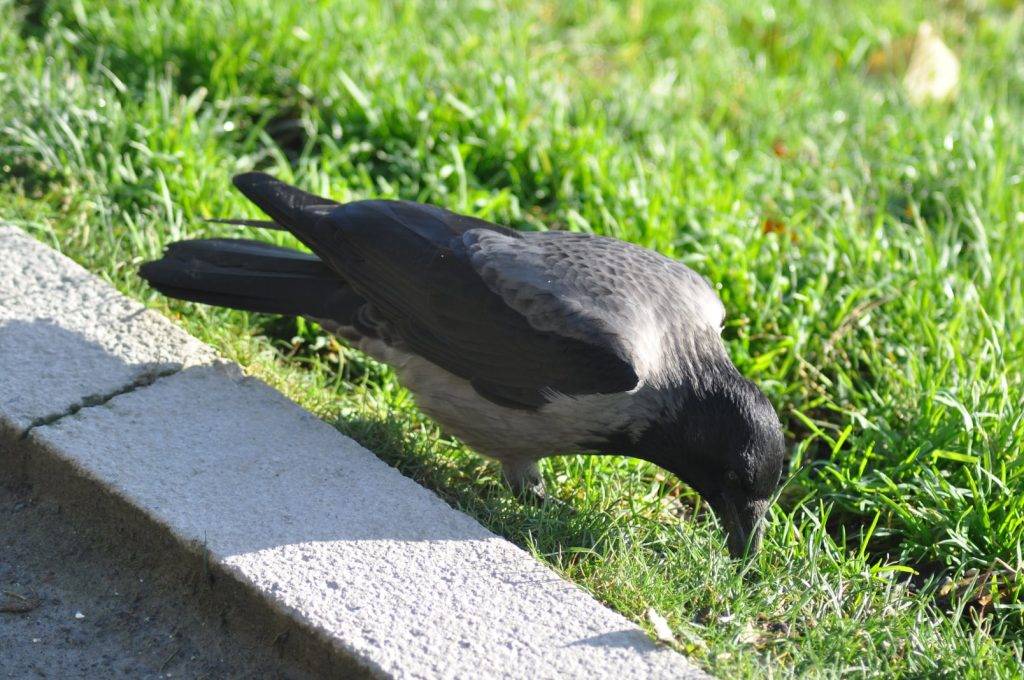
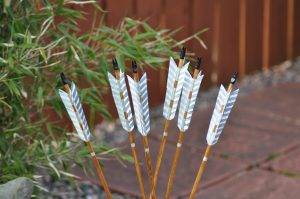
My first ambitious attempt at building more artistic arrows was the Jays. The colour scheme from these arrows was taken from the delightfully singular species of corvid. As my confidence in using wood dyes and cresting paint increased, I moved on to other bird species. Each design is relatively simple, as I prefer minimalism, and fear creating something gaudy.
Wood dye works with the shafts much better than paint. For one thing, paint adds weight to the arrow, and can chip even when varnished. Wood dye sinks into the grain of the wood, and often leaves the breakouts visible for a beautiful two-tone look. Water based and spirit based both work, however white and black tend to require three layers or so, and even then you won’t get a totally pure shade. Once the varnish is to be applied it is best to be delicate if using a brush, otherwise you risk washing off the dye.
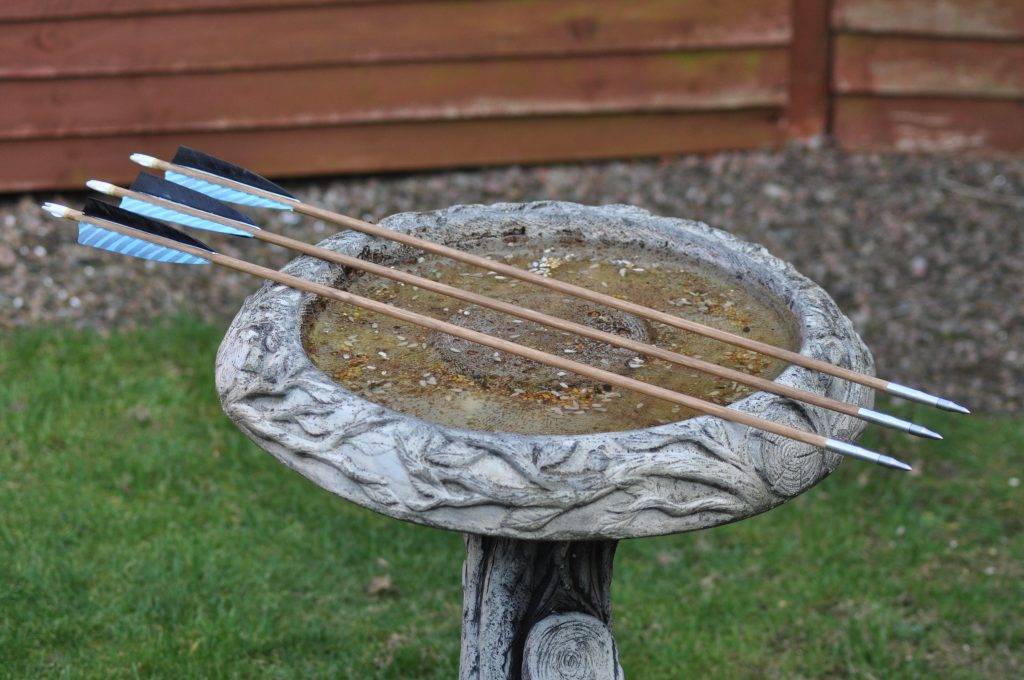
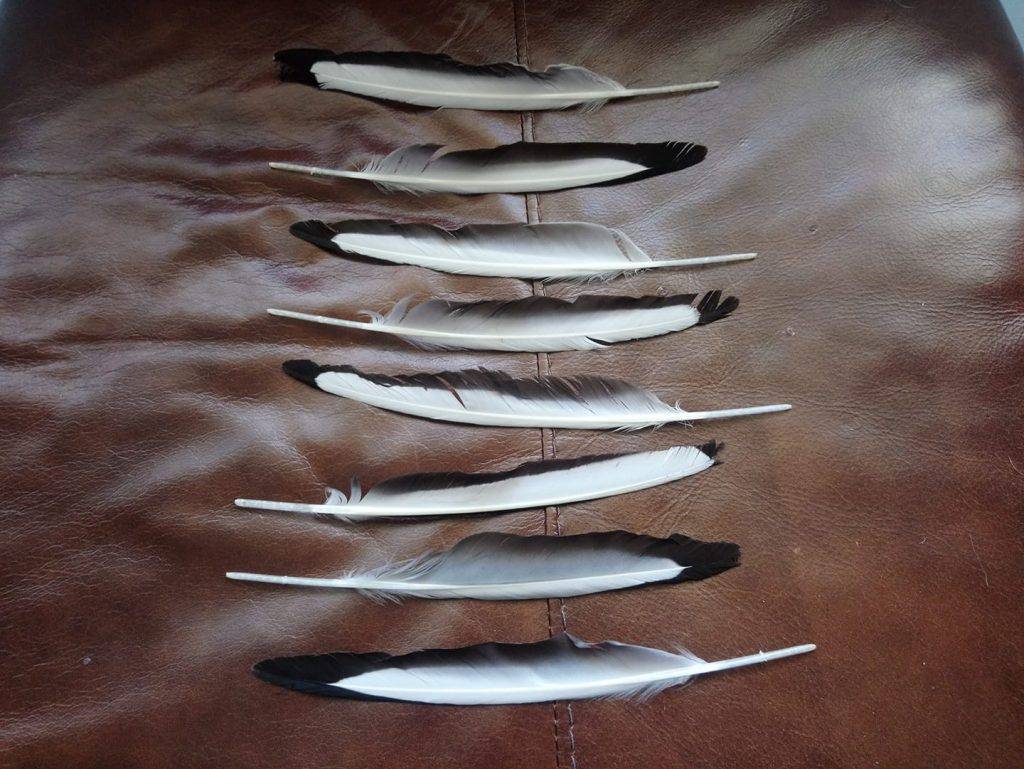
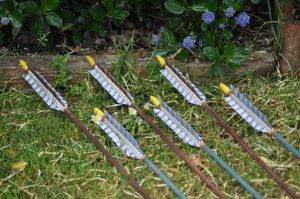
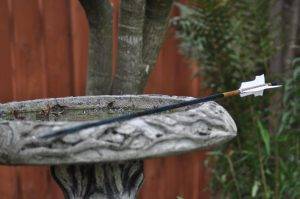
More recently, I have been making fletches from feathers I have found at shooting venues. In particular rook feathers from Ballyvally’s home venue. And stored safely away for future use are a great many gyr and peregrine falcon feathers, given to me by a fella who keeps falcons. Next time you are shooting anywhere outdoors, keep an eye out for what the local birds have left behind. Over the years I have come away with buzzard, pheasant, crow, and sea gull feathers, all of a fletching quality.

Inspiration is limitless when you look to the natural world, with animal and plant colour schemes. If we are to take to the natural world to shoot, why not reflect the beauty that resides out there?
And whilst I often look to birds as a primary source for ideas, I have also delved into the world of complete and utter fantasy too.
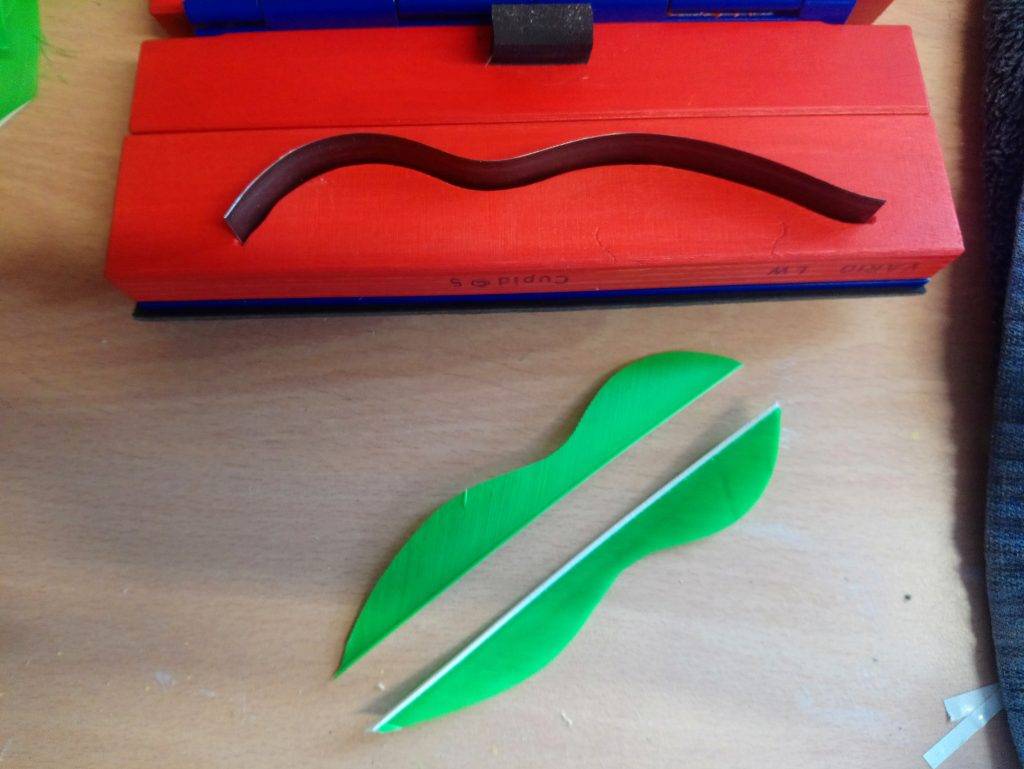
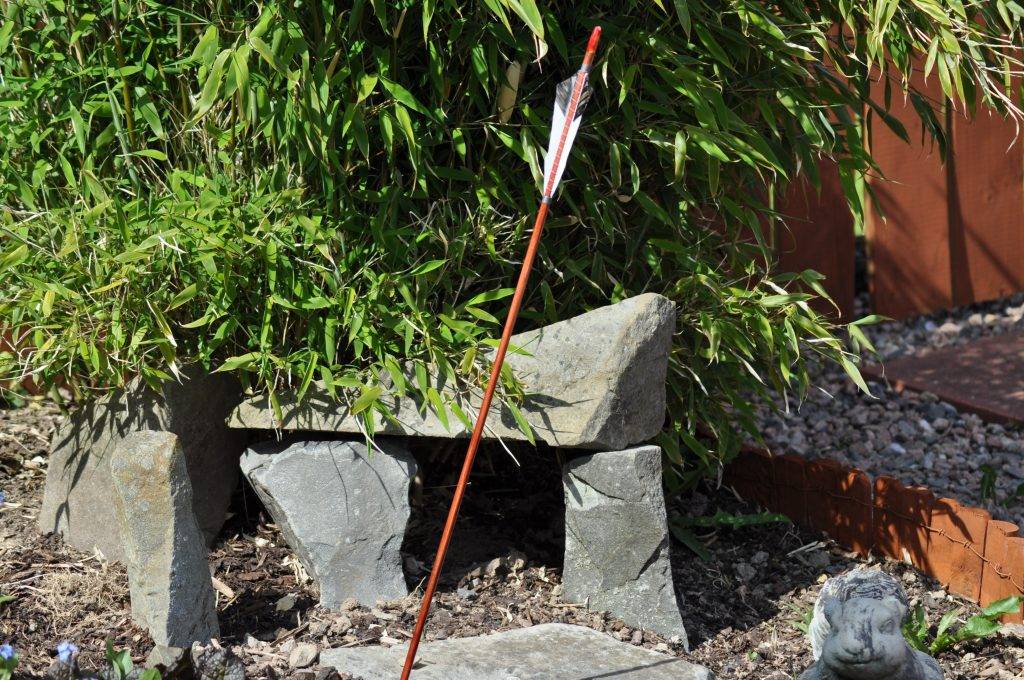
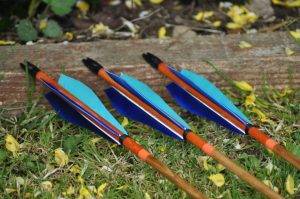
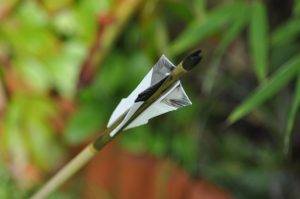
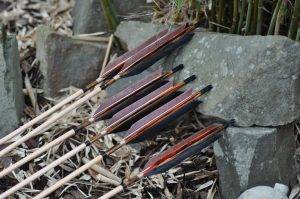
Giving into my childish nature, because I never mentally matured beyond thirteen, I have designed arrows around the fantastical ideas of using dragon’s blood and griffin feathers, or from wood claimed from mythical sources such as Charon the Ferryman’s boat used to take souls away to the afterlife. Where the latter design was concerned, I used a style of fletch called Twin Shijo, which looks like twin waves, for an added detail.
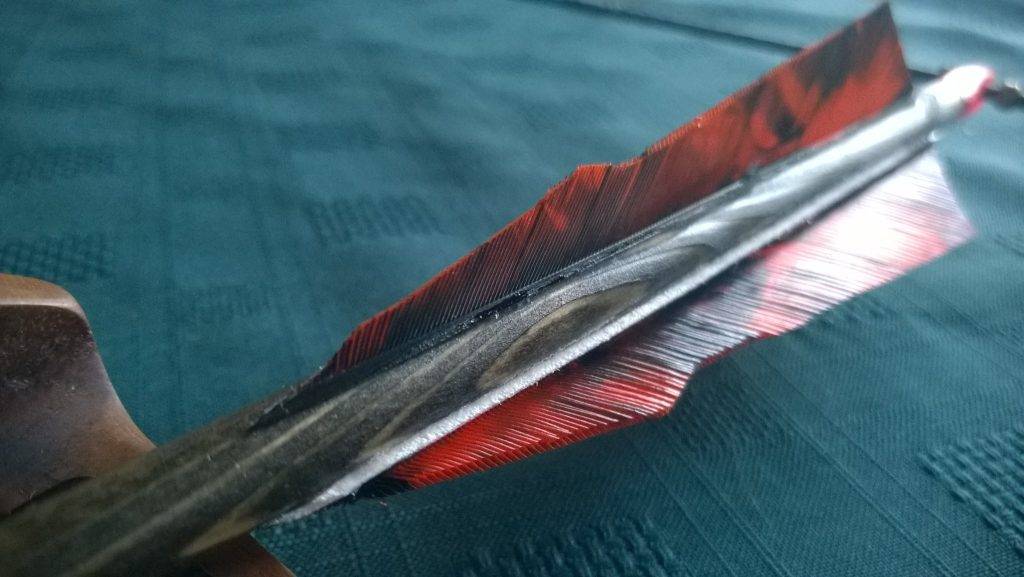
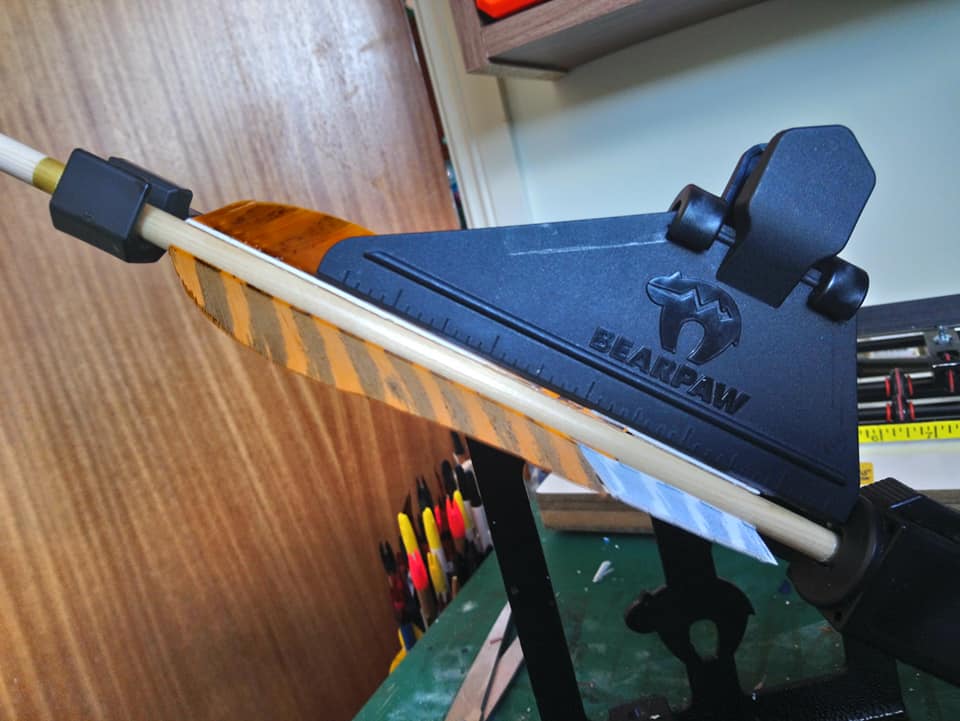
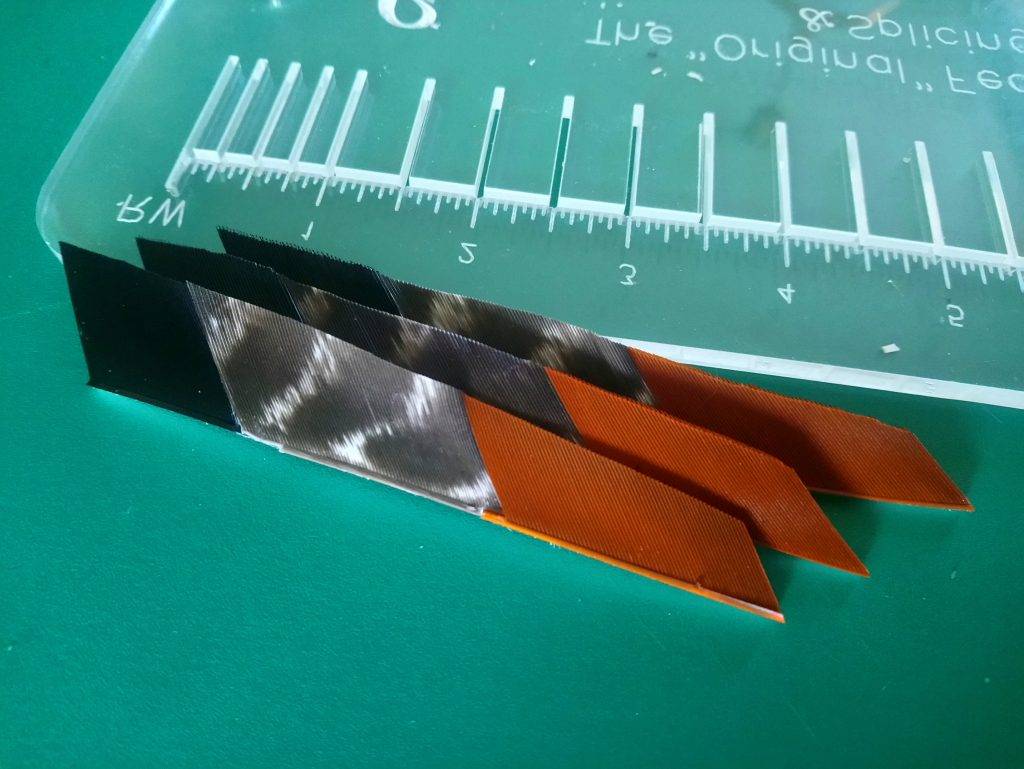
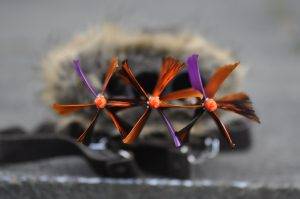
Fletches can be spliced to resemble bird feathers. As griffins are part bird of prey, I have spliced barred and solid colours to try and replicate the wing feathers found on eagles. Plenty of birds of prey have bars on their feathers that merge into solid colours, such as golden eagles. This is difficult to smoothly replicate, in the same way that the birds’ colours naturally diffuse into each other seamlessly – at least I can’t do it through splicing anyhow.

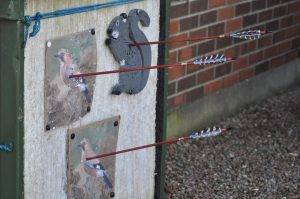
From a practical stand point I’ve found it to be beneficial to experiment with different fletch shapes. For a while I was using a fletch shape called the Raptor, and this simple straight edged and tall profile brought a greater level of stability to my arrows, which gave me greater accuracy and higher scores. There are many templates out there and, and aesthetics aside, something different could be the solution to a problem you’re having with your arrows, or simply make them a little bit more efficient – and there are some cool designs too.
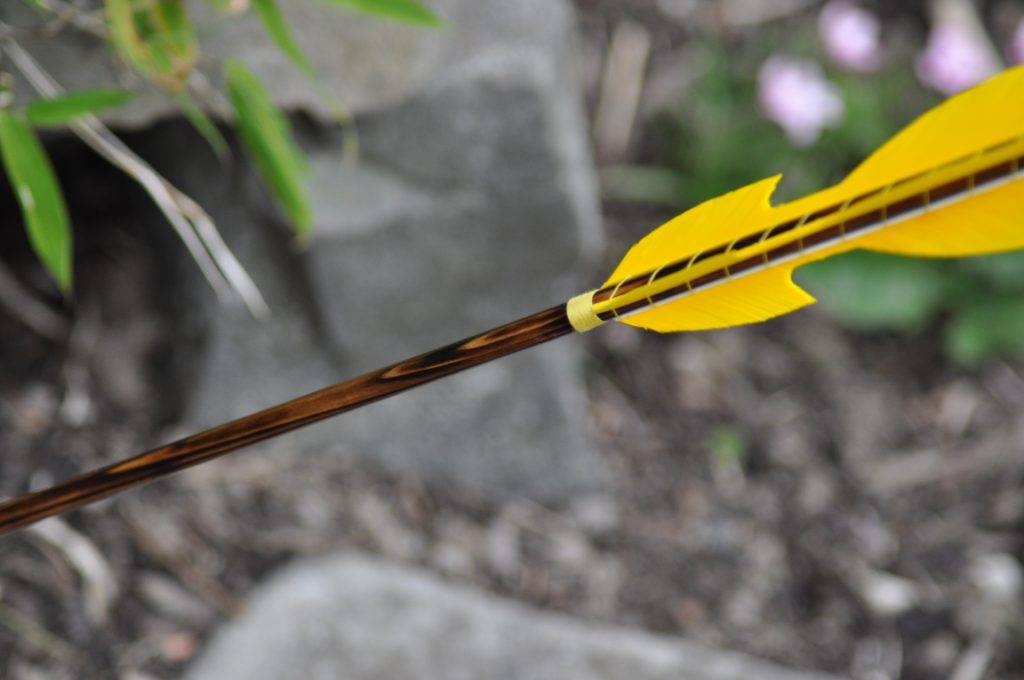
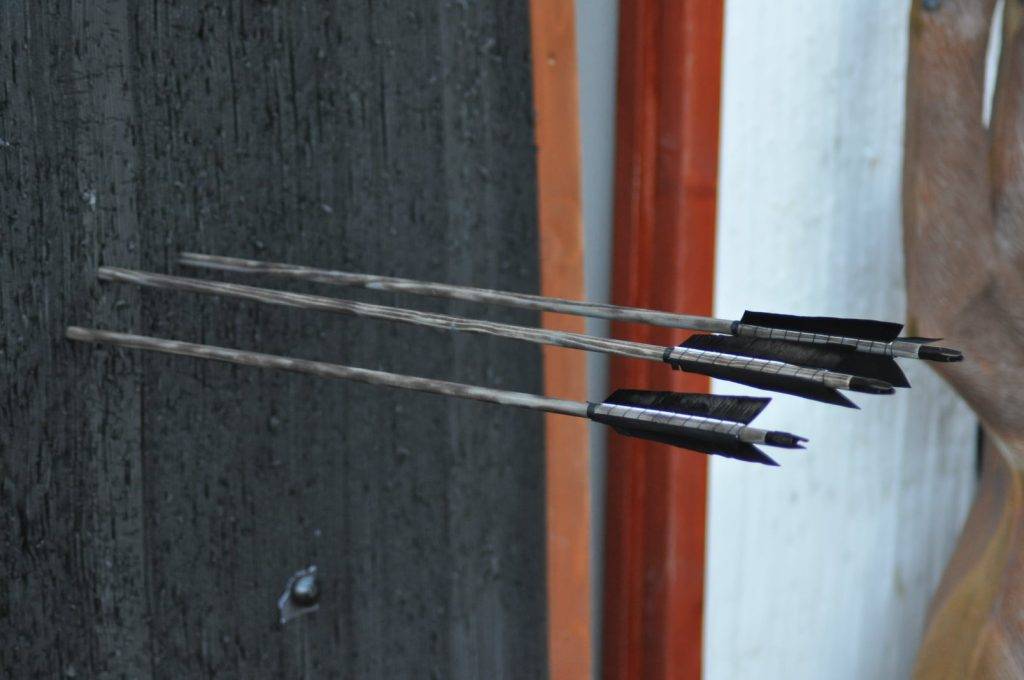
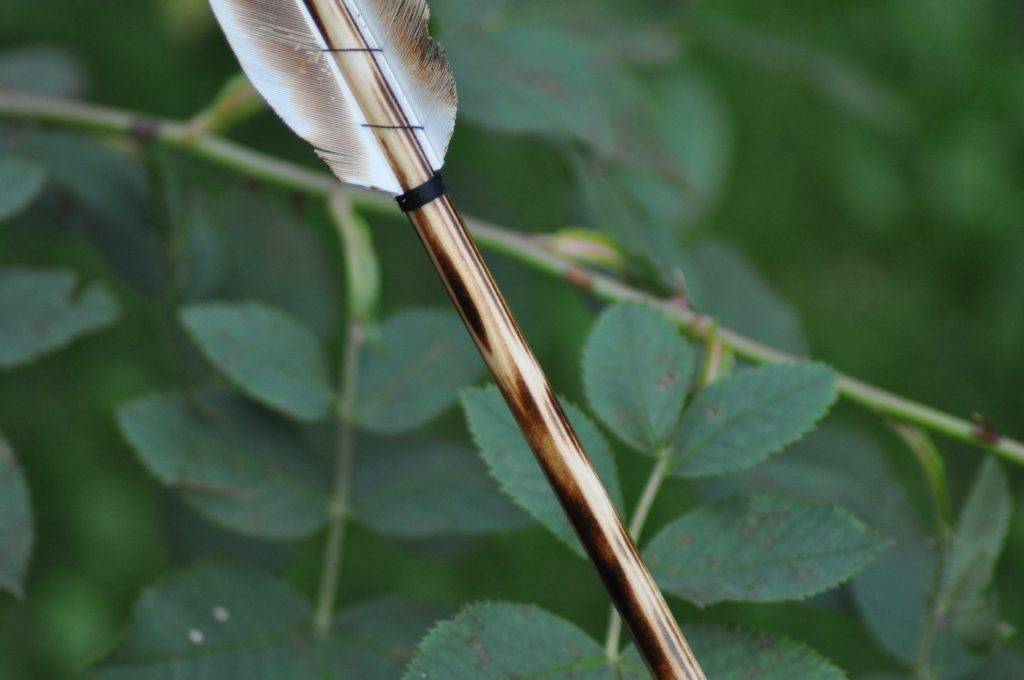
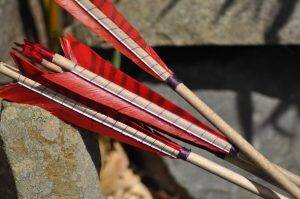
For another example, I ran a flame along the shaft of the arrow, highlighting the grain with a charred blackness. Adding to this, I singed the barbs of the white feathers I used for the flights too. Why? Because I thought it was fun to have arrows that looked as if they had survived the fiery breath of a dragon.
Such a technique is simple, and only requires the sort of torch used on fancy desserts or steaks. It is important to keep the flame moving along the shaft at a consistent, leisurely speed, and not to stop otherwise you will burn that portion of the arrow. Furthermore it is best to either leave straightening the shafts until after this, or look them over again, as the heat can warp the straightness.
If you doing the whole arrow shaft, as a means to mitigate the warpage I tend to run the flame of the torch down a quarter length of the arrow first, then move on to the next one, and so on. This way the shaft is not exposed to the heat for too long, and by the time I come back to the first shaft, the heat will have dissipated.

The philosophy you will hear from most archers, is that you should enjoy yourself. I believe this needs to extend to our equipment too. After all, archers decorate their quivers with badges and even carry little mascots with them. So why not have the same fun with your arrows?
It may take a little more time to make your arrows when you look to do something more artistic with them, however, it is worth it. Next time you decide to make a set of arrows, find something to inspire a design for them.


Views: 55
This article is part of our free content space, where everyone can find something worth reading. If it resonates with you and you’d like to support us, please consider purchasing an online membership.