Introduction
Archery would not be possible without arrows and they are the most important part of the equipment set. Tommy, the seminole indian referenced in Maurice Thompson’s 1878 book ‘The Witchery of Archery’ was alleged to have said to – “Any stick will do for bow, good arrow damn heap work”. Even in the early days of archery, they recognised that the projectile does most of the work and was critical. People often spend large sums of money on expensive new bows but it’s more important to have consistent arrows that match the bow and the archers parameters.

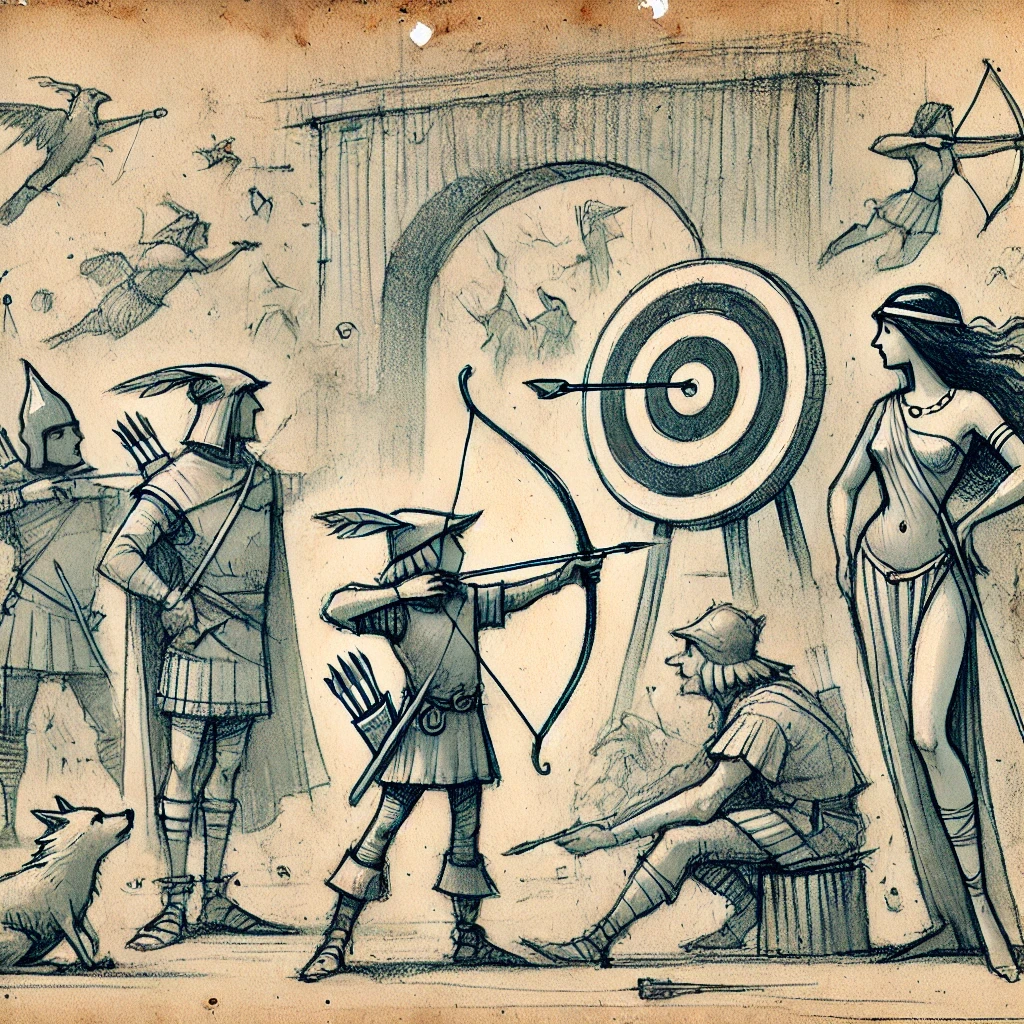
Figure 1.0 – historically inaccurate meme of why archery was invented
Arrows are made up of the following main parts – nock, fletching, shaft and point.

Arrow Shaft Materials
These days arrows are mainly made of Wood (traditional), Aluminium, Carbon (or fibreglass) or expensive Alum-Carbon composites. Initially all arrows were wood but it was difficult to match them in terms of spine (flexing) and straightness.
During the 1960s-1990s, Aluminium arrows came to prominence due to their strength and ease of matching. They are ideal for beginners due to their robustness and most archers will have a set of them in their arsenal. The downside of aluminium arrows is that they can be heavy hence the reason people often migrate to carbon arrows. Previously, there was a brief phase where people used fibreglass arrows but they tended to be very brittle and are now only used for very inexpensive arrows kits.
Interestingly, wooden arrows are gaining in popularity again, primarily due to their historical or traditional significance with many people customising them in terms of fletching, cresting/colours and also footings. In some cases, they begin to look too good to shoot.
Carbon, or more accurately, carbon fiber arrows come in a myriad of makes, forms (materials, strengths) and tolerances. Since the 1980’s they have grown in popularity because they can be stiffer with higher resilience (flexibility) which means they can be made lighter to achieve higher speeds and be less affected by wind. The downside of carbon arrows is that some are cheaply manufactured and not well matched. The second problem is that with greater strength the arrows can become more brittle.
Regardless of the arrows that the archer selects, the most critical factor is to select arrows that meet the parameters of the bow and archer.
Nocks
Nocks would historically have been cut into a wooden arrow shaft but these days tends to be a plastic push-in/push-on nock or a plastic nock that fits on an aluminium pin.

The idea of the pin nocks is that they are more robust and will save the arrow in the case of a direct hit. They are invaluable for target shooting when a larger number of arrows are being shot into a small target site. They are less important for field archery where a small number of arrows are being shot at the same target.

One of the most under-estimated parameters for good arrow flight is the fit of the arrow nock or groove to the string serving. This critical fit allows smooth transfer of the stored energy from the bow into the arrow so it must be tight enough to hold the arrow but when the limbs have closed we want the arrow to be able to disconnect cleanly (without disruption/deviation) and fly cleanly from the bow.
While there is no “standard size” for nock grooves with different manufacturers and makes of nocks having varying sizes, the general consensus is that there is “small” and “large” groove sizes with Easton defining theirs as being the following size.
Easton large groove = 0.098” inch
Easton Small groove = 0.088” inch
Together with the fact that different nocks have different methods of holding the string with some snap on hard (jaws at start of opening), some have multiple holds, some narrow at the bottom, it can make the job of selecting an arrow nock difficult.
My advice would be to not overlook the importance of the nock as a poor nock can result in a “dry-fire” whereby the stored energy releases into the bow and can even destroy the bow. Likewise, too loose of a grip between the nock and the string tends to erode the archers confidence before they have even loosened the arrow down range.
Fletching
Fletching serves the critical function of straightening the arrow while in flight. The downside of the fletching is that it slows the arrow down and the more surface area you have, the more noticeable the effect. The objective while fletching is to get the right balance between stabilising the arrow while minimising the amount of drag on the arrow and also ensuring it does not make contact with any part of the bow.
Arrows can be fletched with plastic vanes or feathers which come in various shapes and sizes. Manufacturers are striving to design new types of fletching that will stabilise & spin the arrow, lessen wind drag, minimise contact, be more wind-resistant and yet robust. Some of the newer ones are the BJORN DragonFlight Vanes, Spin wing, KSL Jet6 vanes or Bohning Griffin Vanes.

BJORN DragonFlight Vanes

Bohning Griffin Vane
Feathers have been used for centuries due to their intrinsic properties (lightweight, shape, flexibility, robustness & availability) and can be made into all shapes and colours. Everyone has their favourite shape but it is believed that the banana cut offers the least wind resistance and is the most efficient.
All of these strive to do the same thing, make the arrow fly better.
Points
Points come in a variety of types and styles depending on their intended usage. Most are either glue-in or screw-in points. Glue-in tends to be for the smaller diameter arrows and you need to be confident on the point weight as once glued it is not as easy to change. Most glue-in points have snap off groves so you can vary the point weight somewhat e.g. 75-120 gn.

Screw-in points require an insert to be glued into the arrow which then allows the archer to easily change the point weight or point type.

Inserts come in various sizes and shapes from simple glue-in format, glue-in with weight to half-out inserts.


Half-out inserts (as the name says) has a portion of the insert outside the arrow which allows you to increase the point width (when using narrow shaft arrows) so you can use screw-in points. This can be handy for testing or tuning arrows but need to take the weight of the insert into account.

Point types
There are a variety of different arrow point types and in reality, most can be used for field archery with the only difficulty being penetration and removal from the target. Field points are most commonly used for field archery whereas pin points are used for target archery.

The design of the field point prevents the arrow from penetrating the target too far whereas the intent of the pin point is that it will draw the arrow into the target so the wider part of the point/arrow makes contact and may cut the line on the target face.
Arrow Selection
In the early days, arrow selection was about testing arrows and finding the one that shot the most consistently. Archers would look for arrows with the required straightness, stiffness/flexibility that balanced a bit forward of the midway point that flew well. Once they were happy with that arrow, they would try to duplicate it with every other arrow to make a matching set.
Today, we have more technology available but to better understand arrow selection, we need to be aware of the key arrow parameters and how they can be used to select the correct arrow for your bow and style of archery.
Arrow Parameters
They key arrow parameters are
Purpose/Material/Brand/Price!!
Arrow Measurements
Spine & Arrow chart
Arrow Weight
Straightness Tolerance
FOC – Front of Center
Fletching
Point type & weight
Arrow Appearance
Let’s take a brief look at each of these in turn
Purpose/Material/Brand/Price!!
Material and price depends on where people are in their archery journey. For beginners, I recommend people to go with inexpensive aluminium or carbon arrows and as they progress and improve they can always upgrade their arrows. Eventually, every archery will reach a point where better arrows become good enough.
In terms of brand, ask club members what arrows they use and why – ask for recommendations. Everyone has a favourite arrow so look for one that matches your needs. It is highly unlikely that you will need the very high end – ACC/ACG arrows unless you are doing target shooting.
Arrow Measurements
The length of the arrow depends on your draw length and the arrow must be 1-2 inches longer than the full draw length. A key thing to remember is that as you develop as an archer, you will loosen up and your draw length can lengthen in the initial 12-18 months. Similarly, children or youths who are still growing, should start with longer arrows and I would not recommend cutting or shortening the arrows too much at the start. The other factor to remember is the longer you draw your bow (where possible/not compounds), the more power you will get out of it and for that reason, you may need a stiffer/longer arrow.
The Inside Diameter (known as ID) is one of the more critical measurements as it is the one you need to know for selecting components such as nocks, inserts or points that will fit. They are normally expressed in mm, inches or even fraction of an inch and the table below gives some of the most common measurements;
| mm | Inches | Metric |
| 4.2mm | 0.165” | 11/64 |
| 5mm | 0.196” | 13/64 |
| 6mm | 0.236 | 15/64 |
| 7mm | 0.275 | 9/32 |
The Outside Diameter (known as OD) relates to the width of the arrow. It comes into play depending on weather conditions and on windy days it is better to have smaller diameter arrows whereas indoor arrows (not weather affected) tend to use larger width arrows to maximise line cutting ability and increase scores. For field archery, it is a balance between diameter vs. robustness with most people shooting 4.2-6mm arrows.
Spines & Arrow chart
Spine is a term used to express the degree of stiffness or flexibility in an arrow. Both flexibility and stiffness (resistance to flex) can be measured as a deflection from straightness with the larger the deflection, the more flexible or less-stiff the arrow is.
Arrow spine is expressed as a number with low numbers (e.g spine 500) used to denote arrows that are stiffer or have less defection than higher denoted spine numbers (e.g. spine 1000).
Most books will talk about Static vs. Dynamic spine with the key differences being that static is when the arrow is at rest, held at two points with a weight hanging to cause deflection. Dynamic spine is what the arrow actually experiences when being shot from a bow and is much more difficult (if at all) possible to measure. One key thing to note is that the larger the point weight the softer the dynamic spine will be. So an arrow with 100gn point will be stiffer than an arrow with 150gn point. This allows us to make minor adjustments to the dynamic spine of the arrow and tune it further to match the bow.
Let me introduce two warnings. Firstly, not all spine numbers are the same – some brands use different numbering systems so you should always use an arrow chart to see what spine/number arrow you need e.g. Easton 500 spine is not the same as a Gold Tip 500 marked arrow.
Secondly, there are differing spine measuring standards. Wooden arrows historically were measured to the AMO/ATA standard whereby the arrow was held on supports 26” apart with a 2Lb weight hung from it. Whereas, most companies have aligned on the Easton standard of holding the arrow 28” apart and suspending a 1.94lb weight to measure the deflection. Because of the difference in measurement techniques, wooden arrow deflections will normally be 1.25 times LESS than carbon/aluminium arrows for the same spine. This can get very confusing hence the reason, it is better to always consult the arrow chart for the arrows you are selecting.
Arrow Charts
Arrow charts make a recommendation of arrow spine for a type of bow (recurve, compound, trad), draw weight (pounds), arrow length and point weight.

Some manufacturers (e.g. Easton) prefer to group their arrows into categories or groups. This allows people to see what category of arrows would suit their bow and characteristics and can then pick from their range.

One key thing to note is that the length specified is the arrow length and not the archers draw length. If for example, the archer has a 27” draw length but they want to shoot 29” arrows, then they need to read the 29” column. Similarly, the draw weight is what the arrow will experience, and is the weight on the fingers rather than the rating on the bow at 28”.e.g. Archer with 40lb@ 28” bow but draws 31” could experience 46lb and should read that category.
Arrow Weight
The weight of the bare arrow shaft is normally expressed in Grains per Inch (GPI). Grains is standard weight measurement for things like ammunition and dates back to when people were measuring “grains” of cereal. Its approximately 64.8 milligrams or one gram is approximately equivalent to 15.4 grains.

You will notice that as an arrows spine increases/becomes stiffer (the number gets smaller), that the GPI will increase. The stiffer the arrow the more material, hence the heavier it will be.
The weight of the arrow is an interesting dilemma, as you want the arrow to be heavy enough to take the energy from the bow but not too heavy that it will drop off in flight. Historically, people used 10 GPP (Grains per Pound of draw weight) as the golden rule for minimum arrow weight. E.g. 40 lb bow, only shoot arrows exceeding 400 grains. Today with the advances in man-made materials, some bowyers will recommend less with one bowyer going as low as 5 GPP. This means that you can safely shoot lighter arrows (hence longer distances) without damaging the bow. Hunting on the other hand requires penetration at shorter distances rather than having the arrow carry further. For that reason, the arrows tend to be much heavier and stiffer.
In general, when selecting an arrow the spine required will narrow the range of GPI and the choice comes down to point weight while tuning etc.
Straightness Tolerance
Straightness which is normally expressed in fraction of an inch e.g. ±.006″,±.003″, ±.001″ etc. comes down to the precision and level of matched-ness of the arrows. For field archery without a sight, ±.006″ is sufficient whereas target shooters or compounds will achieve better accuracy with straighter arrows. Arrows tend to get much more expensive as they become straighter/tighter matched and it is highly unlikely that anyone other than the elite athletes will need ±.001″ straight arrows.
FOC – Front of Centre
In order for an arrow to fly correctly it needs to have the weight somewhat forward of centre. However, if the arrow is too forward heavy it will drop very quickly and not travel the distance required. Similarly, if it is too light, the arrow flight will be erratic and not stabilise while being more susceptible to weather conditions.
Front of Centre (FOC) or %FOC is a measure of the percentage of the arrow that is in front of the centre point. Research has shown that %FOC of 10-15% is optimal for arrow flight and accuracy especially at longer distances.
The FOC% is calculated as FOC % = 100 x (A – 1/2 Length)
Length
Where A = measurement of Balance point to End of Arrow (taken from nock point where string lies). This is explained better in the diagram below

The good news is that you do not need to remember or manually do the calculations as Easton provides an excellent online calculator – https://eastonarchery.com/foc-calculator/ where you enter the length and balance point (from end of arrow).
Personally, I find FOC% to be one of the most useful tools as it helps me to gauge what weight to put on my fletched arrows with 12-13% FOC being my sweet spot.
Fletching
Fletching relates to attaching vanes or feathers to the arrow to help stabilise its flight. As mentioned early, it is a balance between adding large enough feathers that will quickly stabilise the flight without impacting speed too much. Another key determinant is the shape of the fletching to ensure that it does not contact or impede the bow or shelf.
Typically, arrows are fletched with 3 feathers or vanes with the cock feather being easily identified with a different colour or stripe etc. Interestingly enough, there is much debate around the location of the cock feather when shooting off the rest with most archers preferring the cock feather to point out outward (perpendicular to the bow) whereas some people/nationalities believe the cock feather should point upwards (parallel to the bow). The key thing is to ensure you are not getting too much contact which can throw your arrow off. Two ways to validate this is 1. Slow motion camera (difficult to do) or 2. Put talc or power on the rest and look at the pattern to see where it is making contact.
Point type & weight
Firstly, most thin diameter arrow shafts (4.2mm ID and under) tend to use glue-in points whereas the larger diameter arrows use screw-in points with inserts. I would recommend selecting a point type that will be easily removed from the target you are shooting. Bear in mind, that if it is very sharp/pointy, it can result in deeper penetration into trees and roots if you miss.
The best practice is to select the arrow spine from the chart that meets your parameters, add the point and the nock before bare-shaft shooting it. Key thing you are looking for is whether the arrow flight is good and how it lands in the target. The image below gives a simplified view of what to look for (bear in mind, that this is for a right handed archer).

There are numerous arrow-tuning videos and articles online but the key thing is to look for an arrow that flies well without being fletched. This means it is the best fit for you/your bow and fletching it will then have less work to do in stabilising the arrow. In cases where the dynamic spine of the arrow appears to be too stiff, you can add more weight to the point to “soften” the spine. If the arrow appears to be too “weak”, you can cut a small bit off the arrow or you can reduce the point weight.
The next step is to fletch the arrows and verify how they fly. I recommend calculating the %FOC as this gives you a guideline of how it will perform over longer distances with higher FOC dropping more rapidly whereas too low of an FOC may cause it to fly erratically.
Arrow Appearance
Like most things, we all prefer arrows that look good and for field archery it is essential to have arrows that can be easily found if the target is missed. For that reason people should select either wraps or dips together with fletching that are easier to see. Stay away from muted colours that commonly occur in nature like greens, greys, browns or black and instead use bright colours like pink, orange, yellow or bright blues which will stand out in grass or woodland terrain.
Arrows can also be decorated by cresting or painting them and this can really make your arrows stand out. Likewise, it can be used to identify the order of your arrows when shooting.

Tips & Advice
- Always, always inspect your arrows before firing them. That few seconds of a check could save you from potential injury from breaks or splinters
- Learn the key factors that influence the flight of an arrow and what may be the impact if you change one of the parameters e.g. longer draw, new bow etc
- Select and tune the correct arrows for your bow and draw length.
- Invest in the best arrows suitable for the level and type of archery you do – no point in spending large sums of money as a beginner etc
- Don’t overlook the importance of the smallest part – “the nock”, it is the most important part as it is the connection to the bow and used to transfer the energy to the arrow. Failure of the nock can result in catastrophic failure to the bow.
- Take pride in your arrows and enjoy getting a colour scheme that works for you whether it be your county colours or your partners favourite colours.
References
https://hunterswholesale.net/blogs/news/parts-of-an-arrow provides a very good beginners overview
This is a good guide to nocks
https://www.bowgear.dk/images/upload/diverse/A%20basic%20guide%20to%20arrow%20nocks.pdf
Matching arrows to your bow
Comprehensive list of Archery terms
https://tradbow.com/glossary-of-archery-terms
Highly technical review of arrows including parameters and formula.
“Principles of Traditional Archery” – Book by Thomas Grissom · 2013
Great overview of arrows, spines and parameters
“Shooting the Stickbow – a practical approach to Classical Archery” – Book by Anthony Camera
The ultimate bible on Recurve tuning
“Modern Recurve Tuning”, 2nd Edition – Book by Richard Cockrell (Author)
https://www.unitconverters.net/length/inches-to-mm.htm
FOC Calculator https://eastonarchery.com/foc-calculator/


